

Level 14
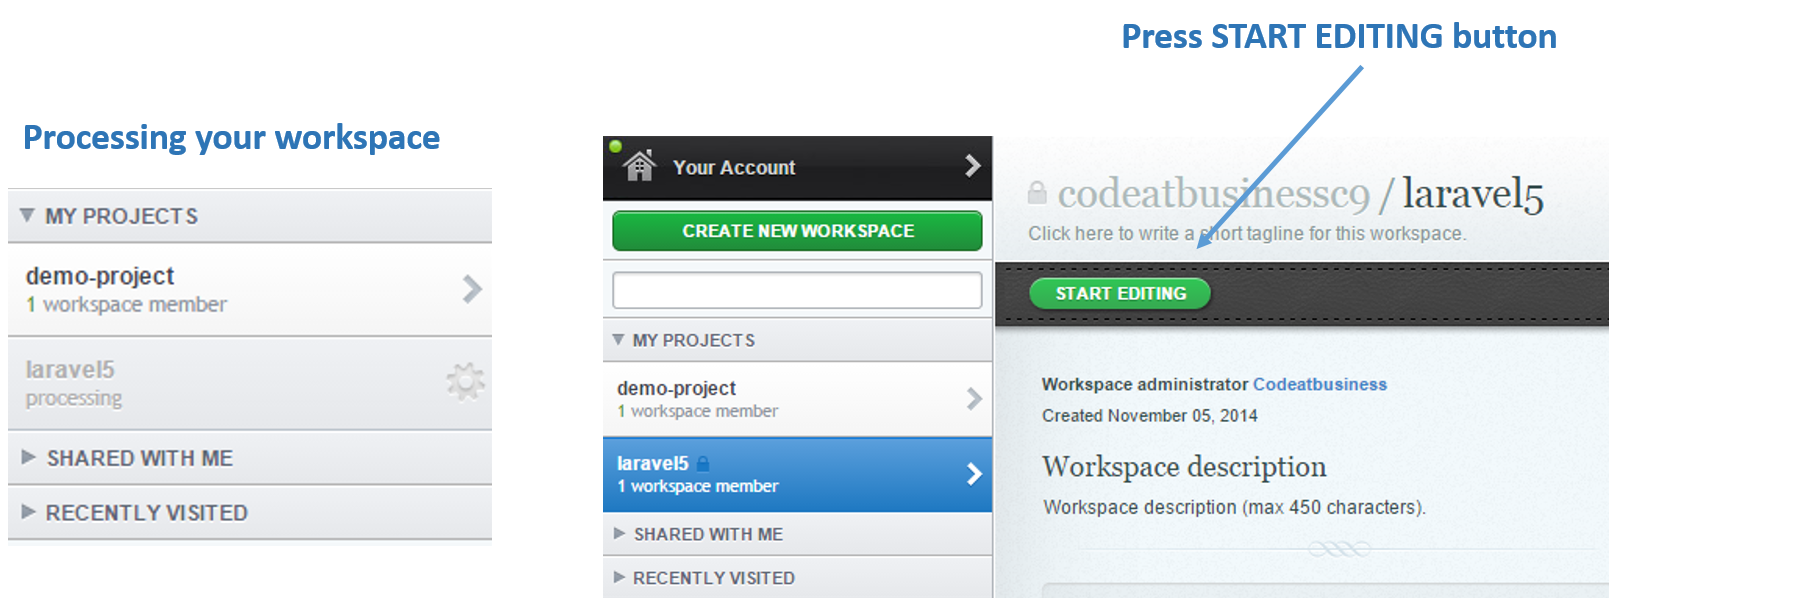
Adding the MySQL Database connection
I will complete some tips for this tutorial:
If you are using Laravel within your Cloud9 workspace, you need to know that you are using production environment.
Then if you want to connect to your Cloud9 Database (called c9) you need to follow the following steps:
- For using mysql you need to run the following command, this command will return your credentials (by default your password must be leave as blank):
mysql-ctl cli
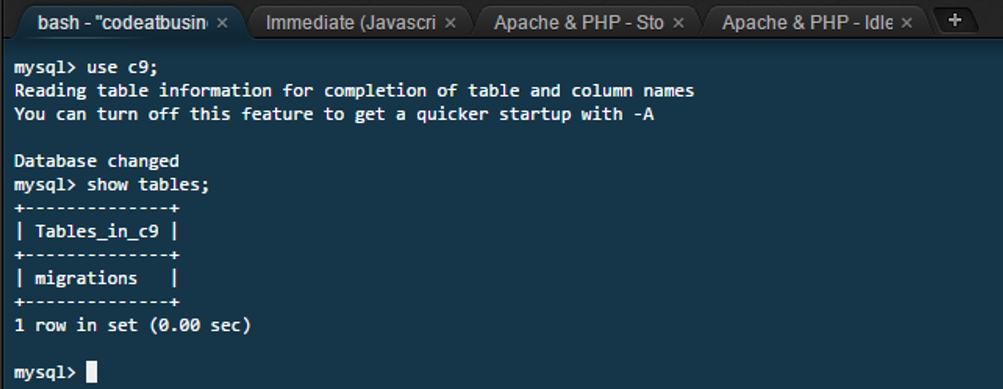
Once you run it, you will have access to your mysql command line. If you type
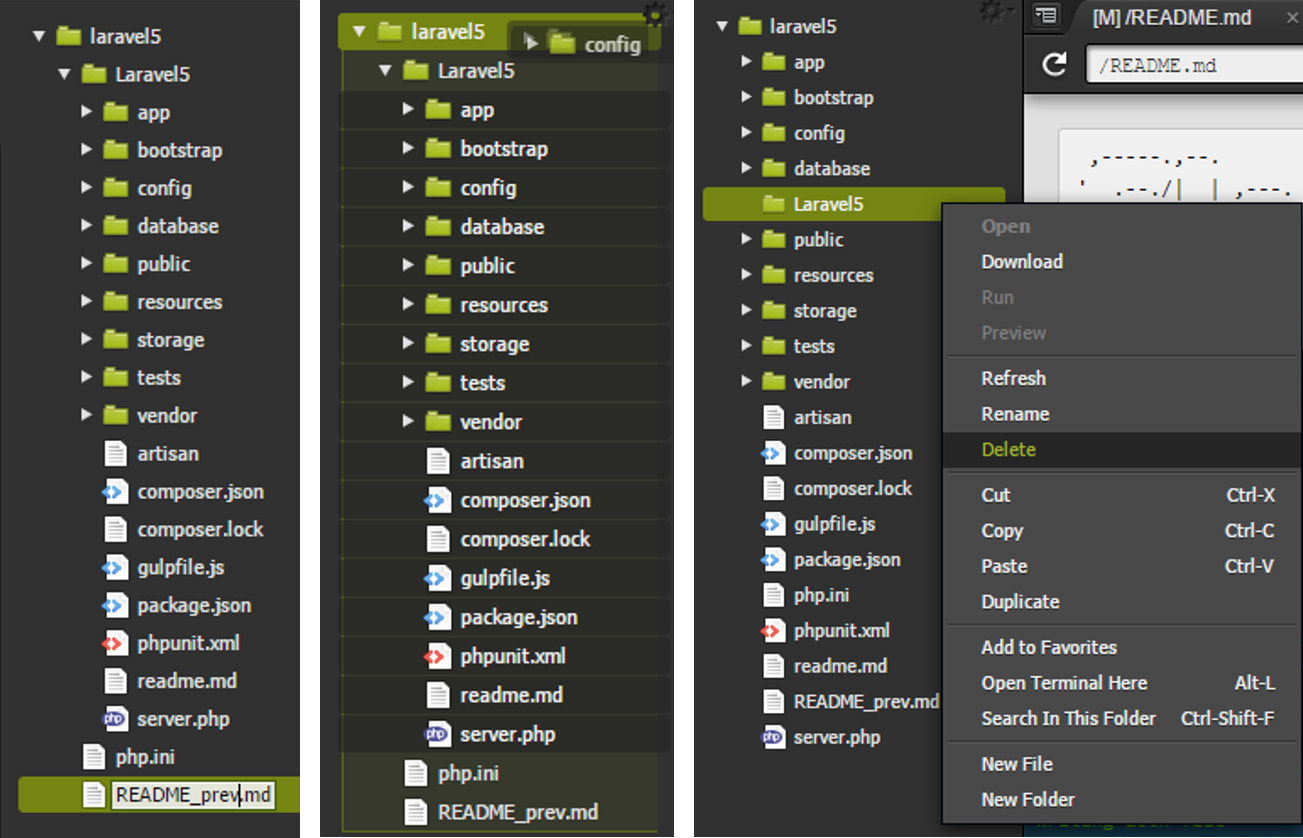
show databases;command you will view all databases, including the c9 main database.At last you need to update your
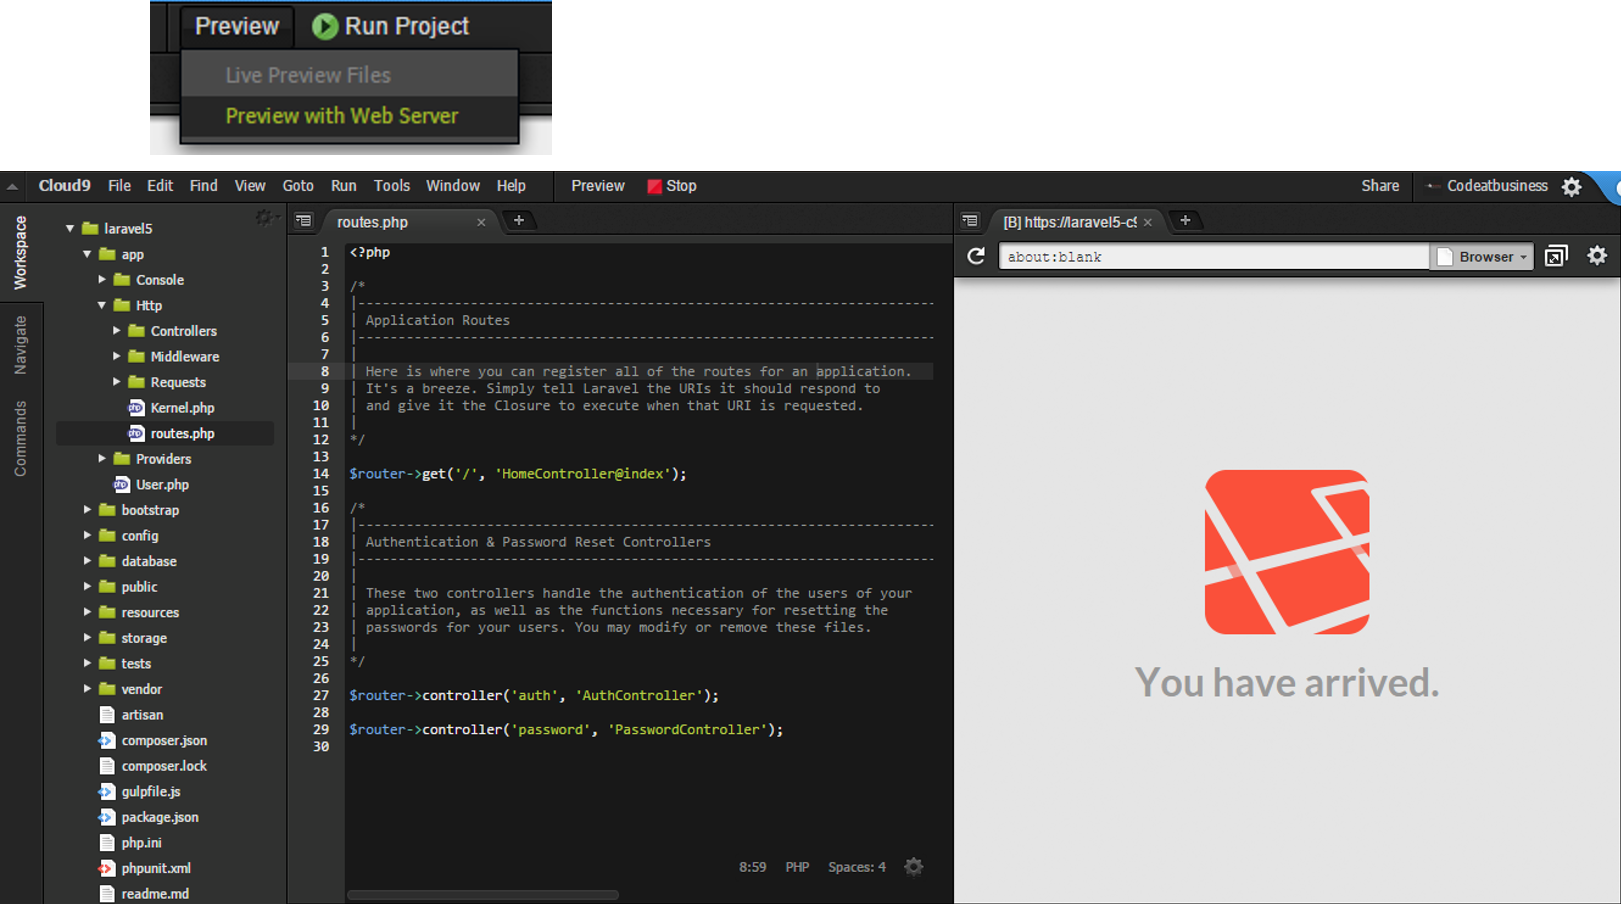
config\database.phpfile for that database (c9) as follow:
 'mysql' => [
   'driver' => 'mysql',
   'host' => '127.0.0.1', //here goes your host 127.0.0.1 by default
   'database' => 'c9', //here goes your database name c9 by default
   'username' => 'yourMySQLusername', //here goes your default username as you view using mysql-ctl cli command
   'password' => '', //here goes your password leave it blank
   'charset' => 'utf8',
   'collation' => 'utf8_unicode_ci',
   'prefix' => '',
  ],
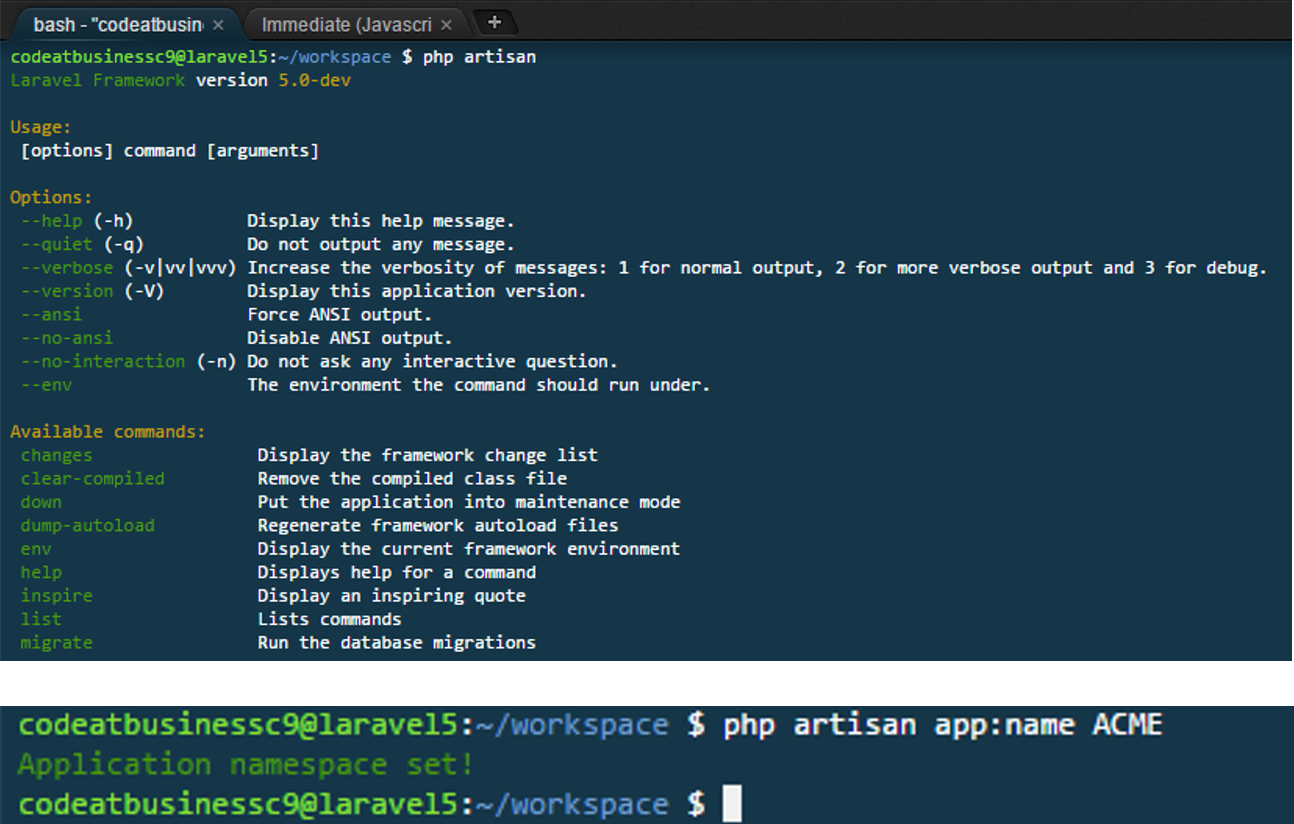
- If you want to try your connection run this command:
php artisan migrate:install
Here you can see how it works:
Hope it helps you.
2 likes